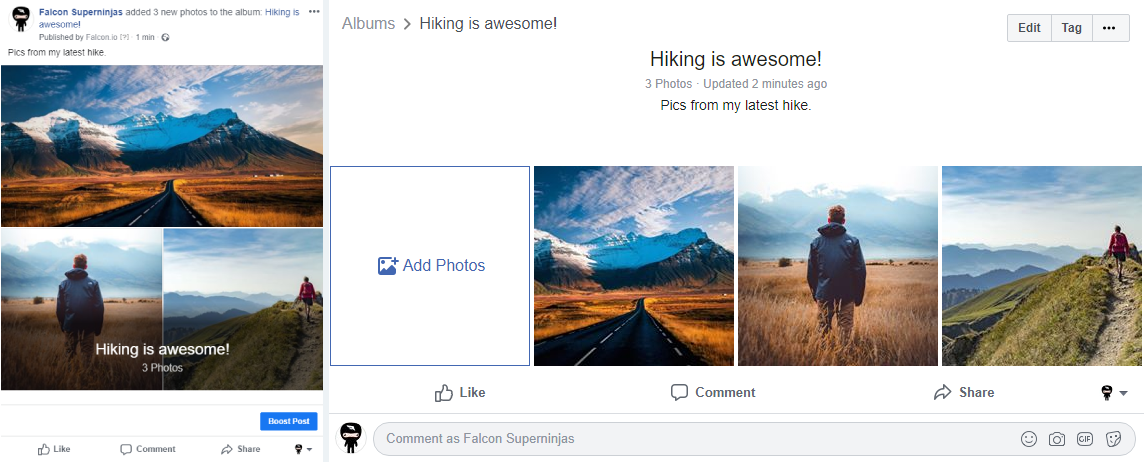
Albums are a type of Facebook post in which you can bring any number of images together. Facebook will create an album for your images under the Photos section of your Page. A link to the album is posted on your timeline.
From inside Social Media Management, you can always add images to existing albums. Creating a new album is currently not supported. We recommend to create your album on Facebook, after which you can add your images through the convenient Social Media Management interface from any of your storage locations.
Tip:
Social Media Management supports other types of image posts directly from Social Media Management, such as multi-image posts. For a full overview of all supported post types, take a look at our supported post types article.
Here’s how you can add images to an existing album post from within Social Media Management:
- In the Publish module, click Create Post in the top left.
- Choose the network and Channel(s) you want to add your album images to.
-
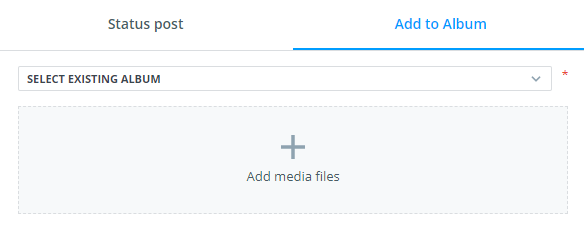
In the Publish Editor, click the Add to Album tab at the top left.

- Add one or more images in any of the following ways:
- Drag and drop one or more image files to the file area.
- Click the file area to open a local file browser. Choose the files to add from there.
- Click the Cloud link to open a file picker popup from where you can access various cloud storages such as Google Drive or Dropbox.
- While hovering over the file area, click the Content Pool link to select files stored in the Content Pool.
Note:
You can edit your images using the built-in Photo Editor by clicking the blue pencil button to the right of the image.
- Once you're happy with your content, click the Publish, Schedule, or Send for Approval button.
After your images are added, Facebook users can engage with either your album post, or with any individual images within the album. Therefore, Social Media Management will index the post on your timeline as one post and all images as separate posts.
